August 8, 2026
12 min read
Video Editing for Social Media: Pro Tips for 2026
Master video editing for social media in 2026 with platform-specific workflows, captions, and repurposing tips.
You can feel the problem before the export finishes. The cut is strong, the message is clear, and the timeline still needs to become six different versions, each one surviving a different crop, a different feed, and a different attention span. That's where video editing for social media stops being “shorter editing” and becomes a workflow discipline built around hooks, safe zones, captions, and modular versions that don't need to be rebuilt from scratch every time.
Table of Contents
- Why Social Video Editing Is Its Own Discipline
- Planning and Shooting With the Edit in Mind
- Platform Formats, Lengths, and Pacing Compared
- The Editing Workflow From Import to Export
- Captions, Subtitles, and the New Visual Layer
- Repurposing Long-Form Content Into Short Social Assets
- Optimization and Publishing Checklist
Why Social Video Editing Is Its Own Discipline
A creator can finish a polished 90-second cut and still have a mess on their hands if it was built like a traditional video. A social edit has to survive motion in the feed, UI overlays, silent viewing, and the need to communicate almost immediately. The work is less about cinematic continuity and more about shaping a clip that earns a glance, a hold, and then a second look.
That shift has a market backdrop. The global video editing software market was valued at $4.7 billion in 2024 and is projected to reach $10.2 billion by 2030, with a 13.8% CAGR over that period, according to the market report cited in the source brief. The same report says more than 500 million people create video content globally and that video accounts for 82% of internet traffic (Skillademia video editing statistics). For a social team, that means the editor is no longer polishing a final asset. The editor is operating the production system.
Practical rule: if the first few seconds don't carry the idea on their own, the rest of the edit is fighting an uphill battle.
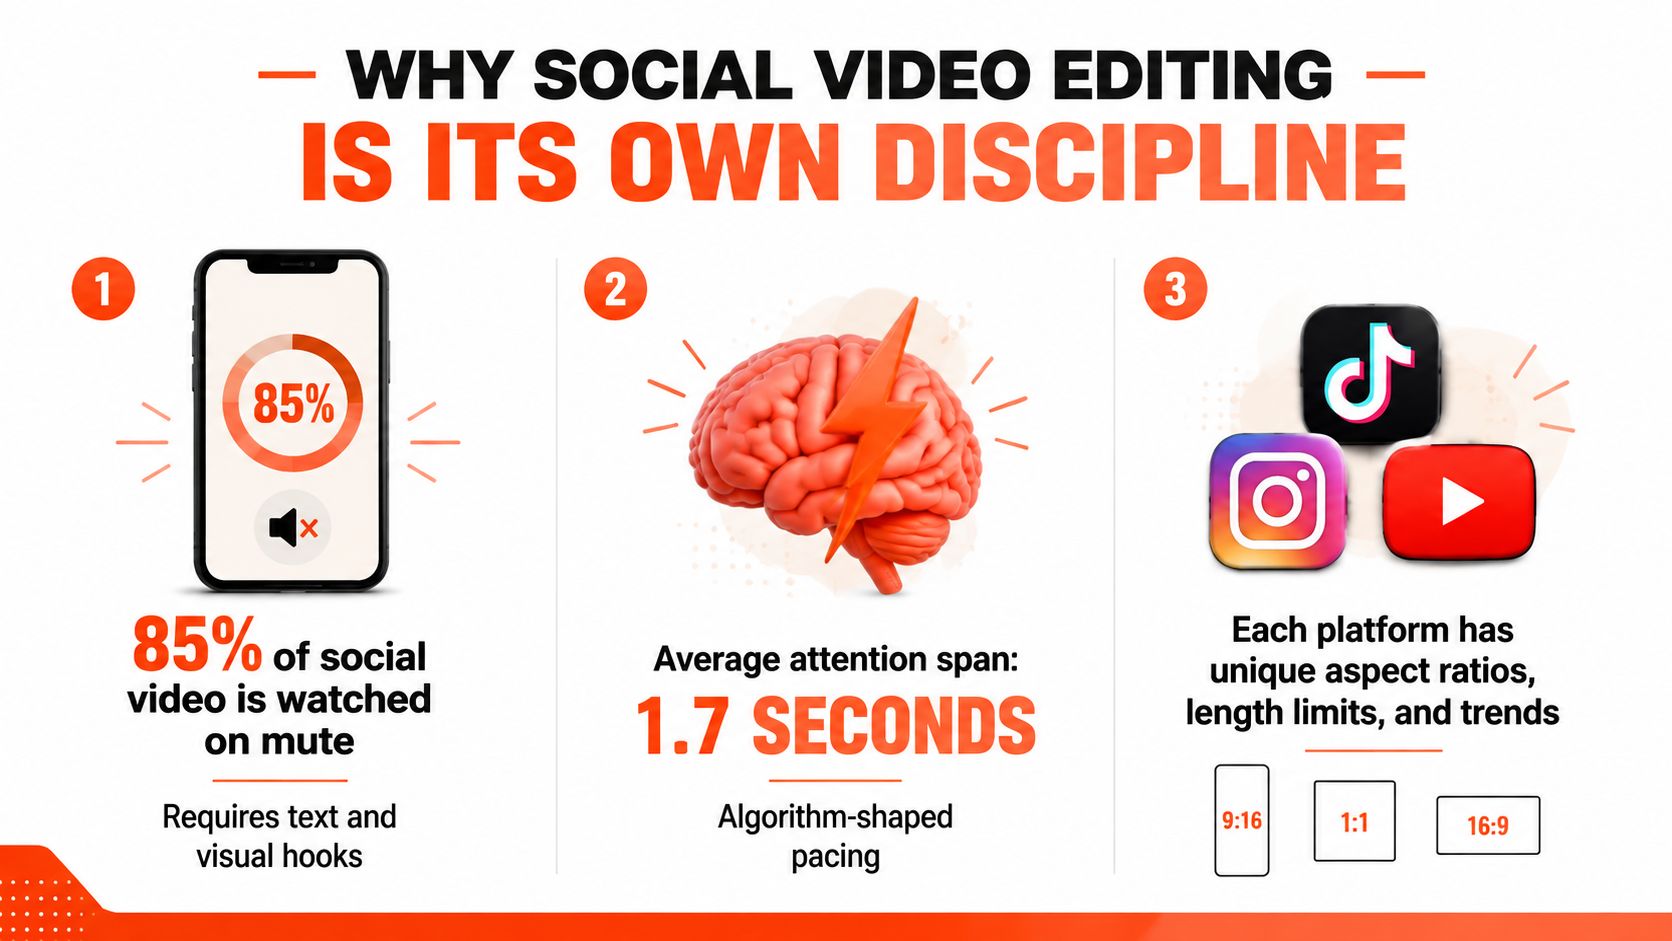
Classic ad editing often builds toward a payoff. Social editing usually starts with the payoff's shadow, then compresses the rest around it. A TVC can spend time establishing mood and brand texture, but a 22-second Reels ad usually needs a strong opening, one clean proof point, and a CTA that doesn't feel bolted on. The right cut looks simple because the timeline was arranged to remove anything that doesn't earn its frame.
If you're building this kind of content calendar every week, the strategy layer matters too. A video content strategy gives the edit a reason to exist before the timeline ever opens, and that's the difference between recurring output and one-off clips. See the framework in WaveGen's video content strategy guide if you need a planning lens that keeps the calendar from drifting.
Planning and Shooting With the Edit in Mind
A strong social edit starts before the footage exists. The easiest way to make the timeline faster is to shoot for the crop you'll publish, not for the widest possible master that you'll later rescue in post. Vertical-first framing saves time because the editor doesn't have to keep re-centering faces, hands, product labels, and on-screen text after the fact.
Script more hooks than you think you need
The hook isn't just the first sentence. It's the first sentence, the first frame, and the first visual claim all working together. If you're recording a founder, client, or host, script several opening lines so the editor can swap them later without rebuilding the body of the piece. That gives you room to test a blunt promise, a contrarian angle, and a problem-first opening against the same core footage.
Capture edit fuel, not just coverage
Short-form pacing gets easier when the camera roll already contains cutaways. Get reaction shots, hand movements, product close-ups, and a few seconds of natural pause between answers. Those moments become your breathing room when you need to hide an awkward splice or replace a flat line with a cleaner beat.
Trade-off: a little extra time on set often saves a lot more time in post, especially when one source shoot has to become multiple platform cuts.
Rule-of-thirds placement still matters, but on social it matters because of crop survival, not just composition. Keep the main subject off the very edge, leave space above the head for mobile UI, and avoid placing critical text where platform controls can cover it. The more the frame can tolerate a tighter crop, the fewer versions you'll need to manually fix later.
If your production setup feels inconsistent, upgrade the basics before chasing fancy transitions. Good audio, stable light, and a clean source image make the edit behave better. A practical reference for the gear side is upgrade your content with audio and light, especially if you're building repeatable output rather than one-off shoots.
Platform Formats, Lengths, and Pacing Compared
The export decision shouldn't be a guess. Each platform rewards a slightly different editing rhythm, and the safest approach is to cut the master with the platform in mind instead of exporting one file and hoping it lands everywhere. A quick comparison helps, especially when the same asset has to work across TikTok, Reels, Shorts, LinkedIn, and Facebook.
| Platform | Aspect Ratio | Recommended Length | Pacing Note |
|---|---|---|---|
| TikTok | 9:16 | Short and immediate | Open fast, get to the claim quickly, and don't bury the hook |
| Instagram Reels | 9:16 | Slightly more room for narrative | Can hold a bit more setup if the opening still earns attention |
| YouTube Shorts | 9:16 | Tight and searchable | Prioritize clarity early, since discoverability depends on the first impression |
| 1:1 or 9:16 | Concise explainer style | Caption-heavy, direct, and more tolerant of professional context | |
| 1:1, 9:16, or landscape depending on placement | Flexible | Worth checking whether the asset reads in square or wider formats |
TikTok usually rewards edits that get to the point without warming up. Reels can tolerate a slightly slower opening if the visual payoff comes quickly enough to justify the setup. Shorts often need a clean premise early because viewers decide fast whether the clip is useful or not.
LinkedIn is different. The audience is more willing to sit through a compact explanation, but the edit still needs to respect the feed, which means clear on-screen text, readable captions, and a professional rhythm. If you want a practical reminder about Instagram-specific file handling and formatting, pro tips for perfect Instagram uploads is a useful companion when you're checking the final render.
If one export has to do too much platform work, the edit usually becomes generic. Separate the body from the platform polish whenever possible.
Facebook still benefits from format awareness because a clip that reads well in square may perform poorly if its text is too close to the edges in another placement. The best habit is simple. Cut the core message once, then adapt framing, safe space, and pacing for the destination instead of pretending every feed behaves the same.
The Editing Workflow From Import to Export
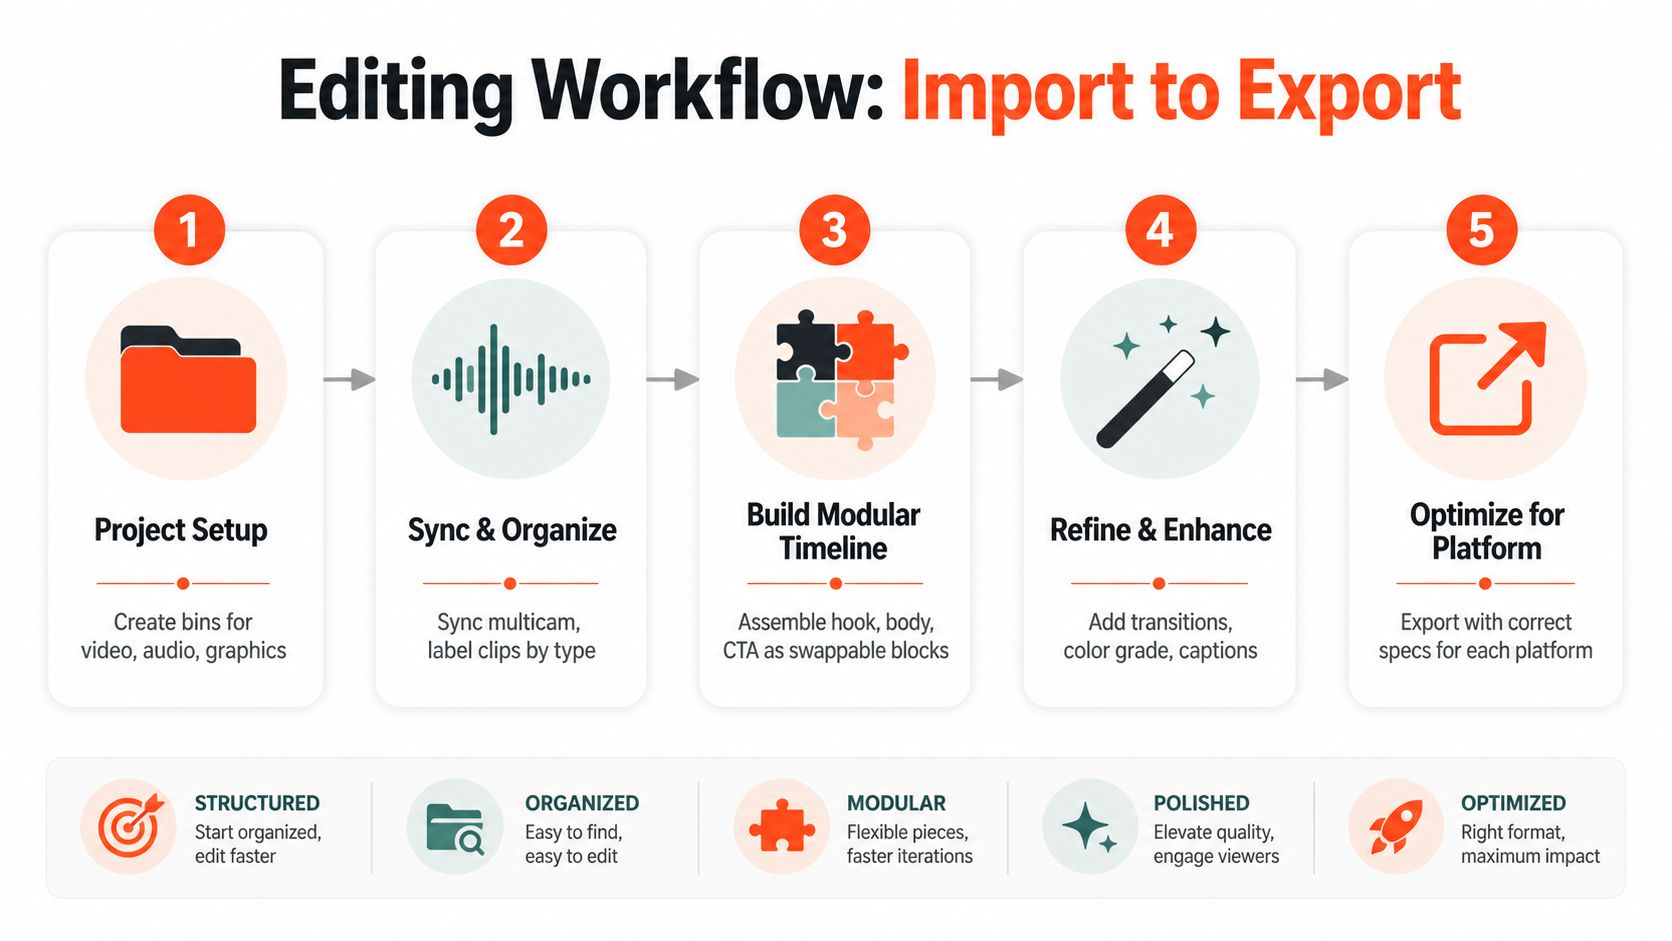
The fastest social editors don't improvise the timeline from scratch. They build a repeatable structure, then swap the parts that need testing. That usually starts with clean bins for footage, audio, graphics, and exports, then moves into organized selects so the timeline can be rebuilt without hunting through raw media every time.
Build the core before you polish
Start with the hook, the body, and the CTA as separate blocks. The body should stay constant while you test the opening and closing. That modular structure lets you keep one strong middle section while swapping the first five seconds and the final ask, which is much easier to test than changing the whole edit at once.
Working rule: change one variable at a time, or you won't know what made the clip perform.
Use J-cuts and L-cuts to keep momentum. If the visual changes before the audio, the edit feels less mechanical. If the audio starts before the cut lands, the viewer gets pulled forward instead of waiting for the next beat. Dead air at the top is still one of the most expensive mistakes in short-form, because viewers rarely wait for a clip to “get going.”
Keep your finishing layer reusable
Color, LUTs, and overall polish belong in adjustment layers or equivalent global controls whenever your software supports them. That keeps platform versions consistent and makes late changes less painful. The same logic applies to captions and safe-zone templates, which should be baked into export presets so you aren't rebuilding text placement for every upload.
For editors evaluating software, top tools for content creators can help with the tool-selection side of the workflow. If you're already deciding between timelines, templates, and platform exports, it's worth choosing software that supports batch-friendly repetition instead of one-off manual fixes.
This is also where the right editor matters. If you're comparing features that support batching, platform presets, and fast repurposing, WaveGen's guide to the best video editor for social media is a relevant internal reference for building a practical stack.
Export for the destination, not the archive
Before export, confirm the frame, crop, text safe zones, and caption style for each platform variant. Then save presets with the platform name in them, because naming discipline prevents mistakes when several versions are queued for posting. The goal is not just a clean file. The goal is a file that lands intact after the platform applies its own UI.
Captions, Subtitles, and the New Visual Layer
Captions now sit inside the visual system of the edit, not beside it. Social clips are read as much as they are watched, so the text has to support pacing, emphasis, and retention instead of acting like a spare accessibility layer. Opus video editing tips reflects that shift by treating captioning as a standard part of social delivery, not an optional finish.
Placement matters more than style
The practical rule is simple. Keep captions in the lower third, but not at the very bottom, because platform UI elements cover part of the frame and can crowd out the text. That matters most on 9:16 exports, where buttons, profile icons, and progress bars reduce the usable area faster than many editors expect. If the text sits too low, viewers end up choosing between reading the line and seeing the interface.
That placement decision changes the whole template. A caption block that looks clean in the editing app can become hard to read once the platform adds its own controls. Safe-zone testing should happen on the actual export ratio, not just in the timeline preview, because the same text can feel centered in one layout and cramped in another.
Static captions work well when the speaker is moving quickly and the design needs to stay quiet. Animated word-by-word captions work better when the pace is punchy and the text itself is part of the rhythm. Neither option is automatically better. A customer testimonial, a product demo, and a talking-head commentary clip all call for different levels of motion and emphasis.
Make captions part of the template
A practical workflow starts with a transcript, then a timing clean-up, then a locked master preset. Once the font, color, stroke, and placement are fixed in the template, every export inherits the same treatment without manual rebuilding. For multilingual publishing, the base template needs enough flexibility to handle longer line breaks and different scripts without pushing subtitles into unsafe areas.
Captions should clarify the edit, not fight it. If the text blocks the face or covers the callout, the style is too aggressive.
The mistake is treating caption polish as the final pass. Social edits usually lose when the first seconds feel slow, even if the subtitles look tidy. Cut the pauses, tighten the opening line, and let the captions carry the emphasis already built into the cut.
For teams turning one master edit into several platform-safe variants, an AI video clip generator can help with transcription, caption styling, and export-ready formatting without forcing the editor to rebuild every version by hand.
Repurposing Long-Form Content Into Short Social Assets
A webinar, podcast, interview, or long article already contains the raw material for a week of posts. The hard part is not making more content. It is spotting the moments with enough density to stand on their own once they are clipped, reframed, and captioned. Transcript review becomes a creative task, not clerical cleanup.
The strongest source moments usually carry one sharp claim, one useful explanation, or one opinion with enough tension to keep someone watching. If a transcript section needs three sentences before it becomes interesting, it usually works better as a supporting post than as a clip. Vertical-native edits work best when the idea still makes sense after the original context has been stripped away.
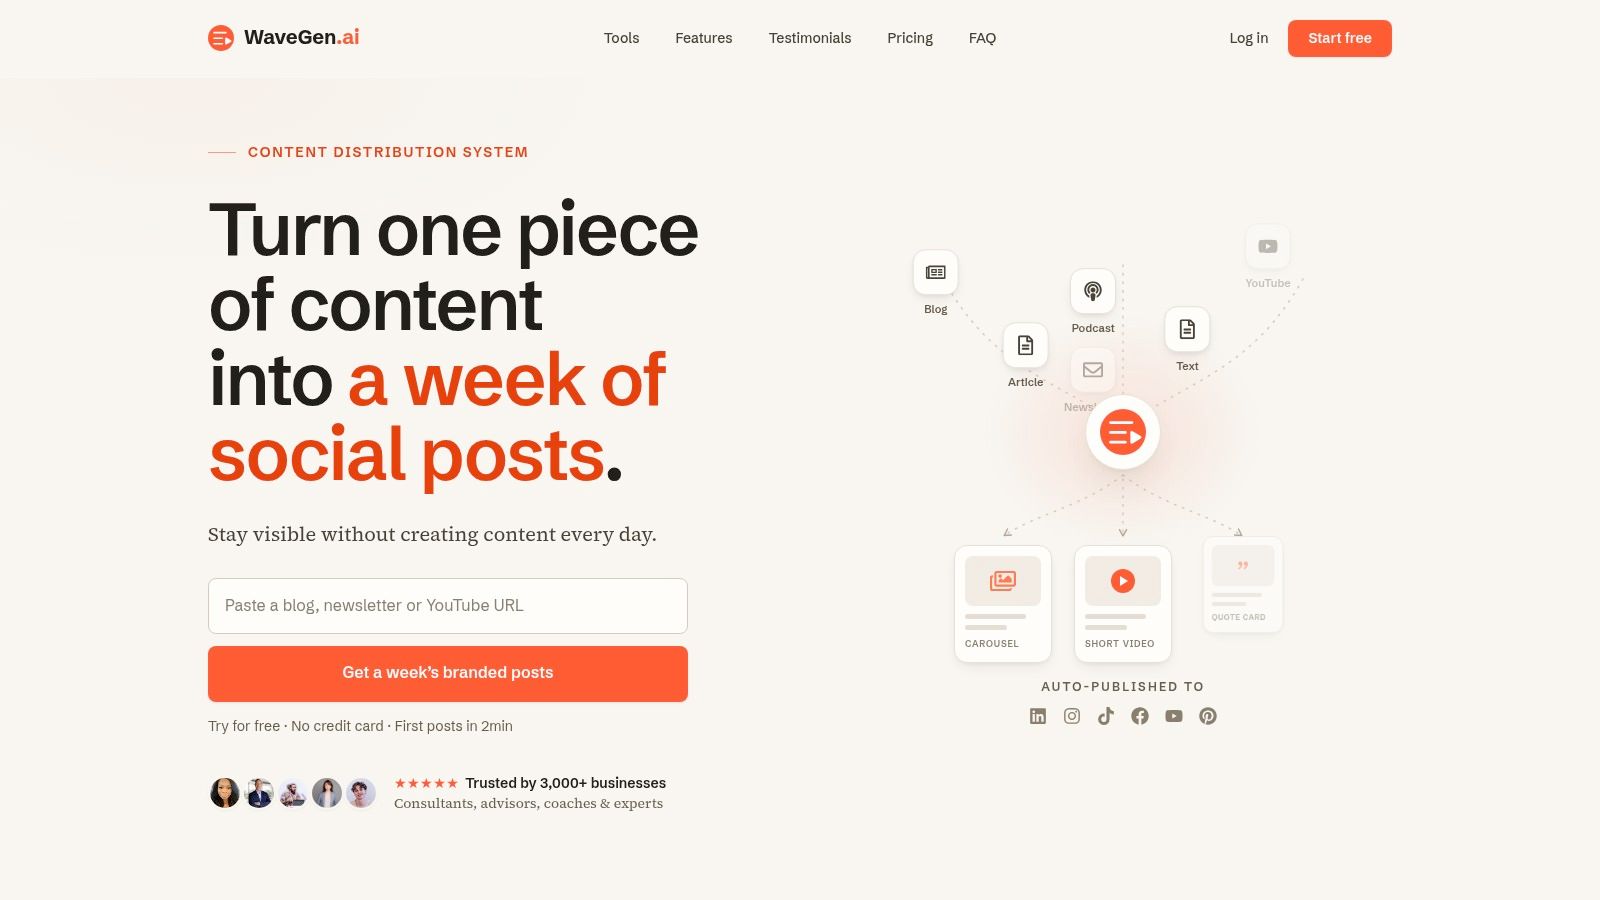
WaveGen.ai is one option for turning a blog URL or transcript into short-form social assets with platform formatting already applied, including vertical video, carousels, quote cards, and captions. For a closer look at that workflow, see the AI video clip generator guide. That kind of system helps when the editing problem is not making one clip, but turning one source asset into several distribution-ready variants without rebuilding every design choice by hand.
Treat the transcript like a search surface
Read for moments where the speaker shifts direction, answers directly, or makes a compact point that can survive as a standalone post. Those segments usually need less trimming and less contextual setup. They also tend to work better as hook candidates, because the opening line already carries the payoff shape.
Then cut the clip into a modular package. One version can stress the strongest hook, another can focus on a more specific CTA, and a third can be tuned for a different platform's frame. The body footage stays constant. That is what makes the process scalable instead of artisanal.
The efficiency gain comes from consistency. If the same source video is being used across multiple platforms, the editor should not have to reinvent caption style, framing logic, or export settings each time. A reusable system keeps the work focused on judgment, not duplication, and that is where repurposing starts to pay off.
Optimization and Publishing Checklist
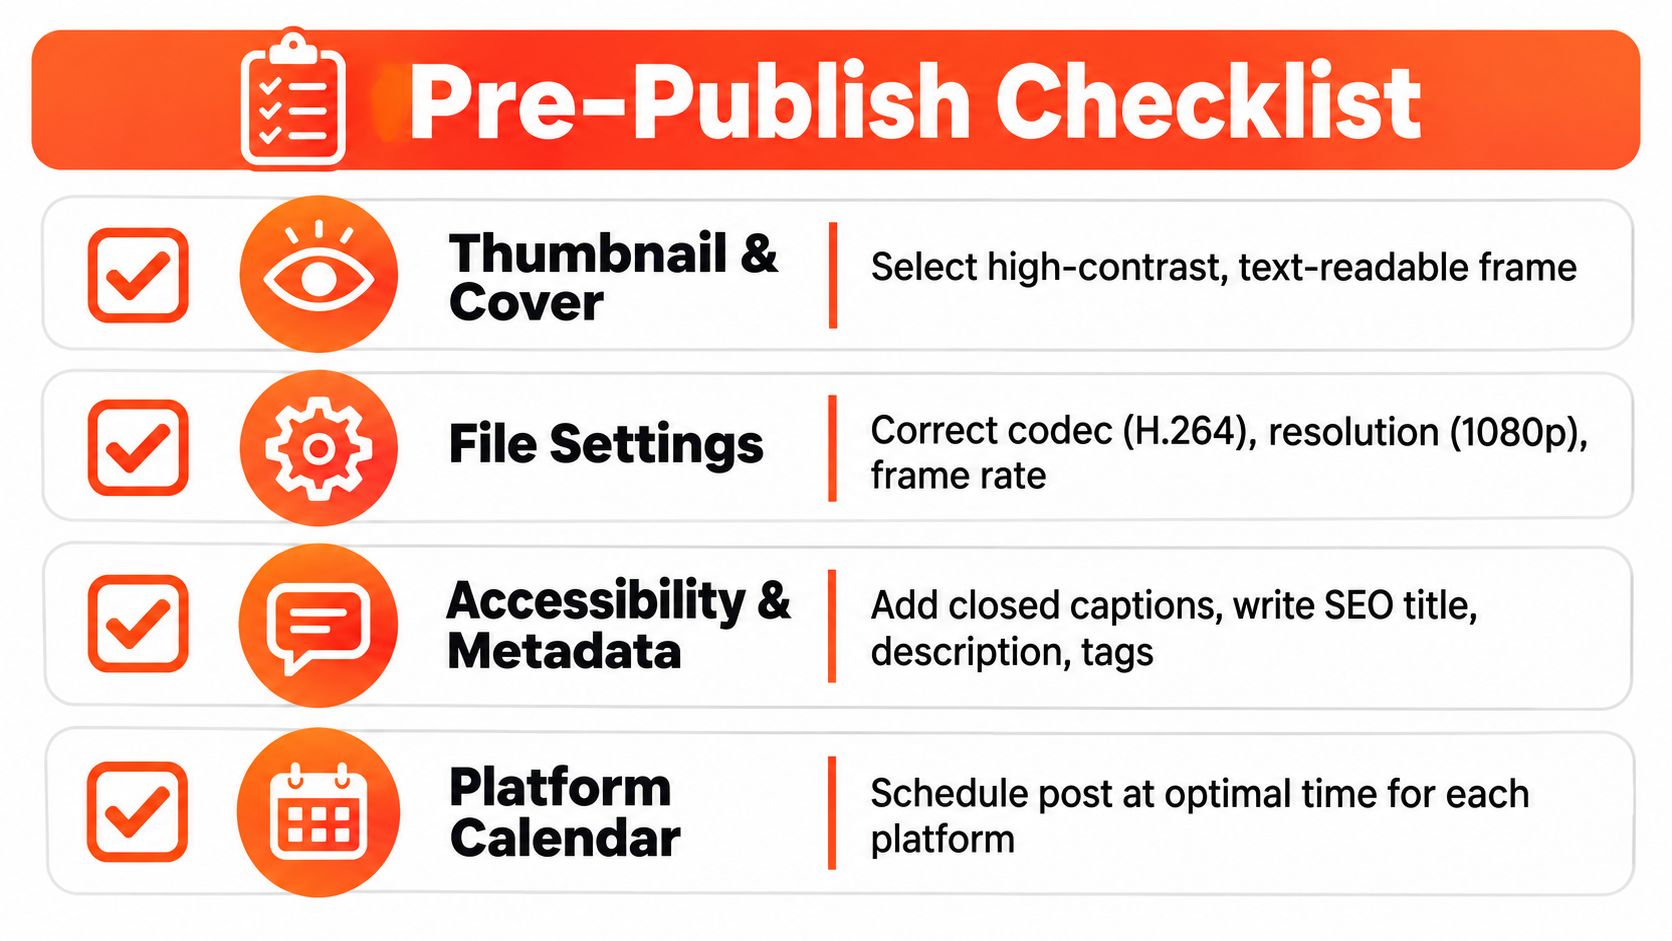
Before you publish, check the frame, the file, and the reading experience. Your thumbnail or cover frame should be high-contrast and text-readable. Your export should use the right codec and resolution for the platform. Your captions, title, description, and tags should reinforce the topic instead of repeating weak language from the draft.
The last check is the one teams often skip. Review the opening frame and first few seconds with fresh eyes, because that's where the edit either earns a watch or gets scrolled past. If a post underperforms, don't assume the whole concept failed. Revisit the hook, caption density, and CTA before you rewrite the entire video.
A good publishing loop treats every upload as a test case. The next edit should start with what the last one taught you.
If you want a faster way to turn source content into platform-ready social assets, explore WaveGen.ai. It's built to help creators and teams turn one idea into multiple on-brand formats for social distribution, which fits the exact workflow problem this guide covers.
video editing
social media video
short-form video
captions and subtitles
content repurposing
Turn this kind of writing into a week of social content.
Paste a blog post, newsletter, or rough draft — WaveGen turns it into publish-ready carousels, captions, and slideshows for every channel.
No credit card · First posts in 2min