How to Automate Content Marketing (Write → Publish → Distribute)
Each week, you’ll have a new blog post and a week of social content ready to review.
Most “automate your content with AI” guides stop at the draft. You get a wall of ChatGPT prompts, a pile of text in a Google Doc — and you’re still the one formatting it for WordPress, rewriting it for LinkedIn, resizing it for Instagram, and scheduling all of it.
This guide is the whole loop. By the end you’ll have a system where:
- Your writer drafts a blog post from your real inputs — your notes, your take on industry news, an interview with you.
- The post lands on your blog — you paste it in (two minutes), or, if you want fully hands-off, an approved publishing assistant creates a draft through your blog’s API.
- WaveGen watches your blog and turns every new post into platform-native social content — LinkedIn posts, Instagram carousels, TikTok slideshows — in your brand style.
- You review and schedule everything in one sitting a week.
Your only recurring jobs are the two that should stay human: deciding what’s worth saying, and approving what goes out.
Use the prompts with any writing tool—or write the article yourself. Claude is the tested example in a few optional setup screenshots below, not a requirement for the workflow.
We run this exact loop for WaveGen’s own blog. Every prompt below is the one we actually use.
What you’ll need
- A writing layer. Use Claude, ChatGPT, Gemini, another assistant, a freelancer, or your own first draft. The voice and source rules are portable.
- A blog you control. The worked example is WordPress. Using Ghost, Substack, Medium, or LinkedIn articles instead? The loop is the same; the publish step differs — jump to Other platforms.
- A WaveGen account for the distribution half. Free to start.
- About 30 minutes for first-time setup. After that, plan on roughly 45 minutes a week for a reviewed article and its social calendar.
The workflow at a glance
Your notes / news / an interview with you
Your writer drafts the post
Step 1–2
Post goes up on WordPress
Step 3 — paste it in, or connect an approved publishing assistant
WaveGen detects the new post
Step 4 — monitors your blog
LinkedIn carousel
IG carousel
TikTok slideshow
YouTube shorts
Facebook posts
Pinterest pins
You review & schedule
Step 5 — one sitting
Give your writer something real to write from
The difference between AI slop and posts people read isn’t the model — it’s the input. Never ask a writing assistant to “write a blog post about content marketing.” Feed it something only you have:
- Your work. Meeting notes, support threads, a decision you just made and why. If it taught you something this week, it can teach your audience.
- Your take on the news. Have your writing assistant scan what’s happening in your niche, pick the story your audience cares about, then interview you for the opinion. The post is your take; the writing layer just does the typing.
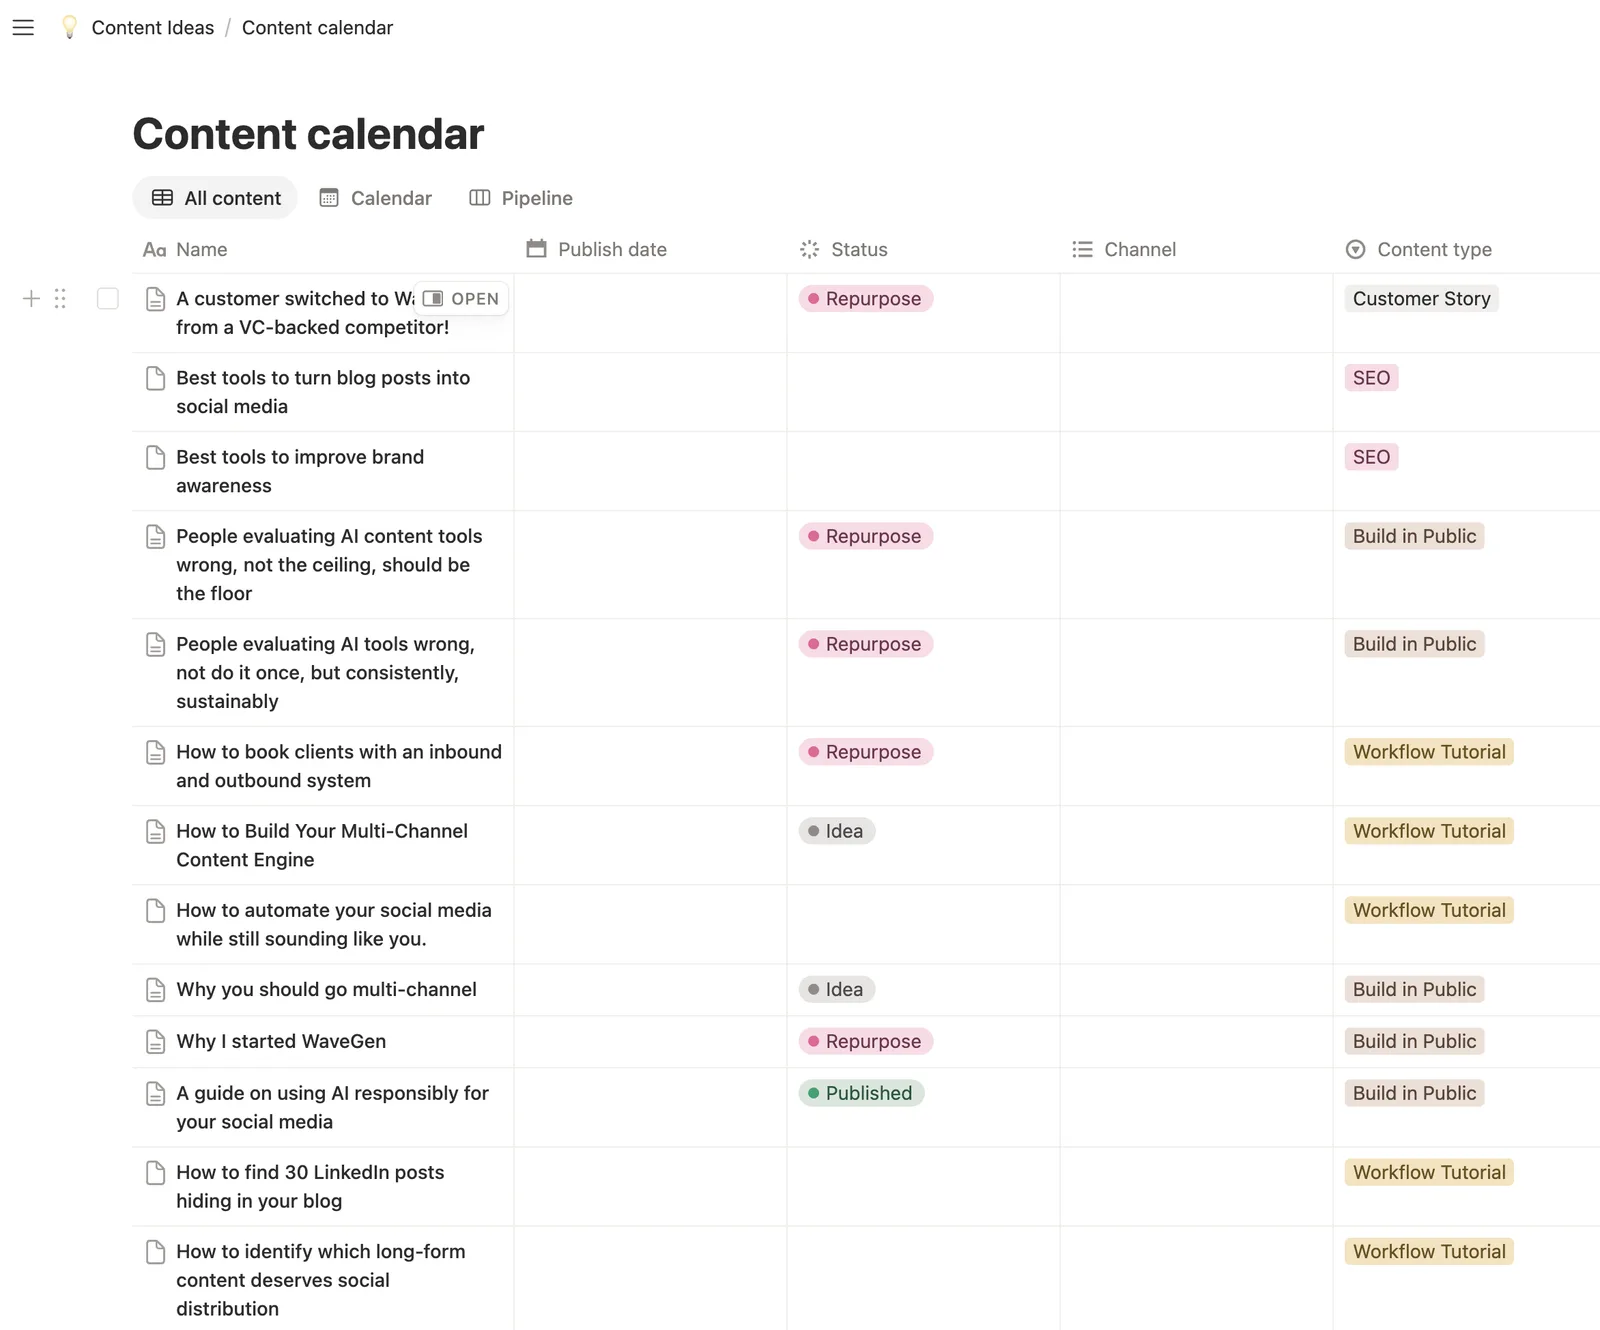
The fastest version — the interview. Paste this into your preferred writing assistant and answer out loud (voice input) or in text:
Prompt — the interview
Interview me for a blog post. Topic: [the thing you want to write about].

Ask me one question at a time, 8–12 questions total. Push past my first
answers: ask for the specific example, the number, the moment I changed
my mind. If I say something quotable, mark it QUOTABLE and keep it
verbatim. When you have enough, say INTERVIEW COMPLETE and output the
full transcript.
Fifteen minutes of answering questions gives any writer more usable material than another round of prompt engineering. (Sourcing posts from meeting notes, your inbox, or an automated news scan each deserve their own setup — those guides are next in this series.)
Draft the post — in your voice
One-off prompts produce one-off quality. Instead, give your writer two small reference docs to use every time they write. Where they live depends on the tool or person you use:
- In an AI writing app: create a reusable project or workspace. Claude is one tested example: Project (call it “Blog engine”) and add both docs to its project knowledge. Every chat inside the project knows your voice automatically — each week you only bring the new interview transcript.
- With a writer or another tool: keep them as two shareable documents or markdown files.
voice-guide.md — how you sound. Paste 3–5 things you’ve written that sound like you (posts, long emails, anything), then have Claude build the guide:
Prompt — build your voice guide
Read these writing samples. Extract a voice guide I can reuse: sentence
rhythm, vocabulary I favor and avoid, how I open and close, how I use
examples, what I sound like when I'm being direct. Write it as
voice-guide.md — rules and examples, not compliments.
style-guide.md — what a post must contain. Structure, length, how many examples, banned phrases (“in today’s fast-paced world”, “game-changer”, “delve”), formatting rules.
Then drafting is one prompt:
Prompt — draft the post
Using my voice guide and style guide (in project knowledge, or the two
md files in this folder), draft a blog post from the interview
transcript below.

Rules:
- Use my QUOTABLE lines verbatim — they carry the post.
- Where you're missing a fact, write [GAP: question for me] instead of
  inventing one.
- Output: title options (3), the post in markdown, and a one-line
  summary for the blog index.

[paste transcript]
The [GAP] rule matters more than it looks: it converts hallucination risk into a checklist for your two-minute review.
Get the post onto your blog — pick your automation level
Level 1: Paste it in (two minutes)
Ask Claude to end every draft with a clean, paste-ready version — then it’s WordPress editor → paste → set the featured image → publish. Add this line to your drafting prompt:
Prompt — add to your drafting prompt
After the markdown post, also output a paste-ready version for the
WordPress block editor: plain text with headings, no markdown symbols
left visible, title separate.
That’s the whole step. It stays manual, but it’s two minutes — and everything after this step is automated regardless. If that’s your speed, skip to Step 4.
![Claude session with a drafted blog article, resolving [GAP] questions and producing a paste-ready version for the WordPress editor](/images/automate-content-marketing/claude-paste-ready.webp)
Level 2: Fully hands-off — Claude Code publishes for you
If you’re comfortable, Claude Code (Claude’s agentic coding tool) can publish directly. WordPress has had a full REST API since 2016 and built-in application passwords since version 5.6 — Claude can publish with one HTTP call. No plugin, no Zapier.
3a. Create an application password. In WordPress admin: Users → Profile → Application Passwords. Name it claude-publisher, click Add Application Password, and copy the generated password now (it’s shown once). Your site needs HTTPS.
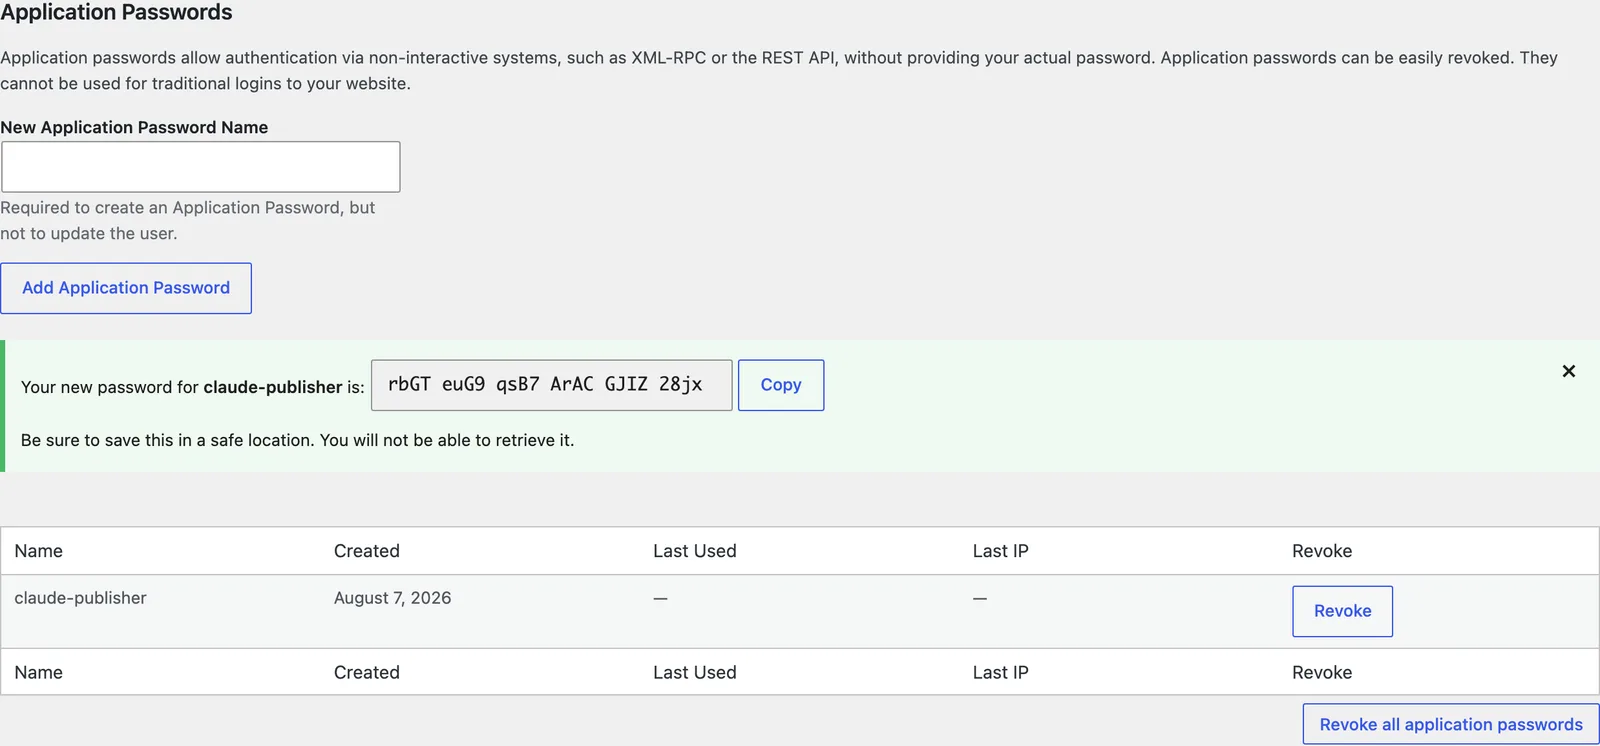
3b. Test the connection. Ask Claude Code to run this (or run it yourself):
Terminal
curl -s -u "YOUR_USERNAME:xxxx xxxx xxxx xxxx xxxx xxxx" \
  https://yourblog.com/wp-json/wp/v2/users/me
If it returns your user JSON, Claude can publish. If you get a 401 with correct credentials, your host is probably stripping the Authorization header (some FastCGI setups do) — the fix is the standard HTTP_AUTHORIZATION rewrite rule in .htaccess, or ask your host.
3c. Store the credentials where Claude can use them. Put them in a .env file in your project folder (and out of any git repo):
.env
WP_URL=https://yourblog.com
WP_USER=your-username
WP_APP_PASSWORD=xxxx xxxx xxxx xxxx xxxx xxxx
3d. Tell Claude how publishing works — once. Add this to your project’s CLAUDE.md so every session knows the rules:
CLAUDE.md
## Publishing
Publish posts to WordPress via the REST API using the credentials in .env:
POST $WP_URL/wp-json/wp/v2/posts with basic auth, JSON body:
{"title": ..., "content": <post as HTML>, "status": "draft",
 "excerpt": <one-line summary>}

ALWAYS create as "draft", never "publish". Tell me the preview link and
wait for my explicit OK before switching status to "publish".
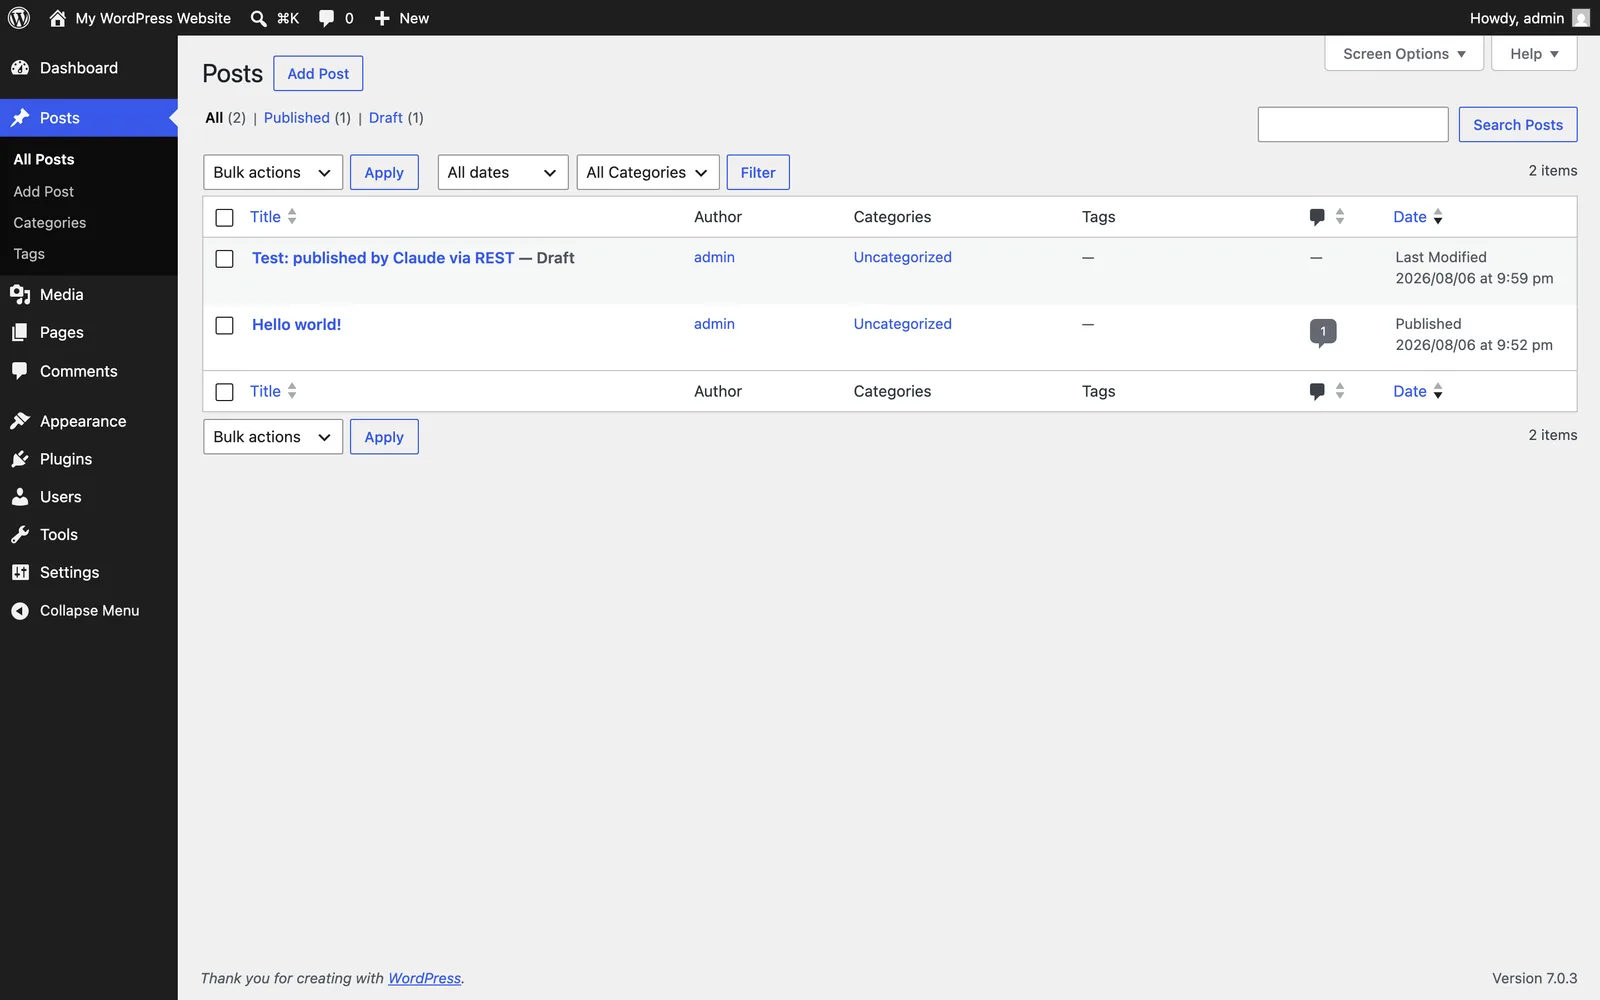
That draft-first rule is the guardrail that makes agentic publishing safe: Claude does 100% of the mechanical work, and nothing goes live without your click. Once you trust the loop, you can loosen it; we haven’t needed to.
Now the entire write-and-publish flow is one sentence in Claude Code: “Interview me about X, draft it per the guides, and put it up as a WordPress draft.”
Turn every post into social content — automatically
Here’s where most automation guides quietly hand the work back to you. A published post is not a LinkedIn post, not an Instagram carousel, not a TikTok slideshow. Reformatting one article for five platforms — hook rewritten per platform, text broken into slides, branded, sized — is a couple of hours per post. Every post. Forever. That’s the half of content marketing that kills consistency.
This is the half WaveGen automates. Point it at your blog once:
- Connect your blog — WaveGen monitors it for new posts.
- Set up your brand kit — colors, fonts, logo, extracted from your site in a minute. Every asset comes out on-brand.
- When Claude publishes, WaveGen picks the post up and turns it into platform-native drafts: a LinkedIn post with carousel, an Instagram carousel, a TikTok slideshow, a YouTube short, a Pinterest pin — each built for how that platform works, not a copy-paste of the same blurb five times.
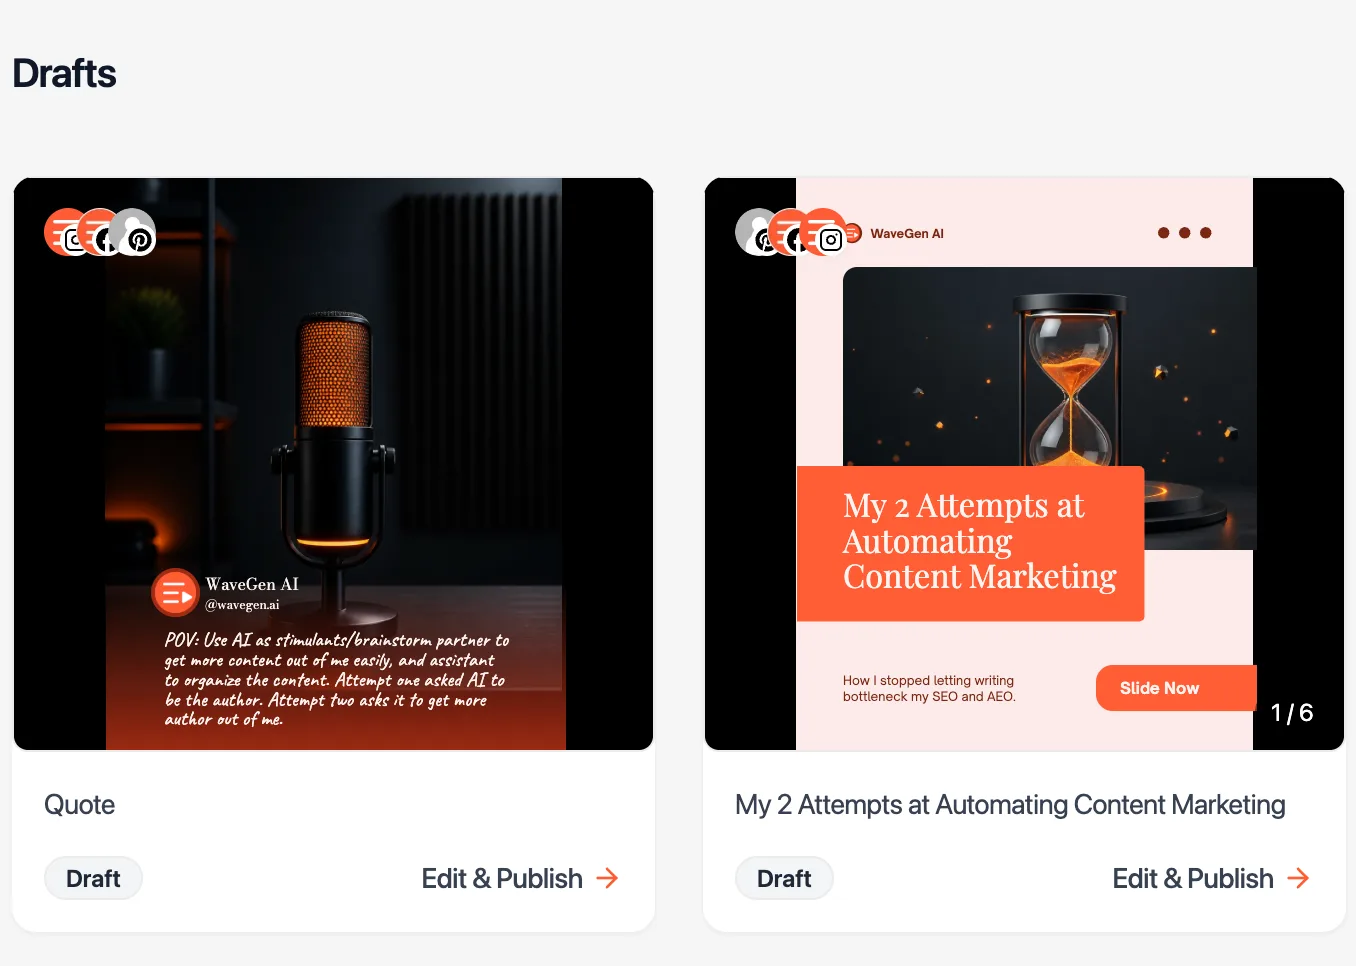
See what your last post looks like as a carousel.
Try for free · No credit card · First posts in 2min
(Under the hood this is the repurposing layer — more on how it works in AI content repurposing.)
Review and schedule — one sitting a week
The weekly rhythm that makes this a system instead of a stunt:
- Write day (~30 min). Run the interview, answer the
[GAP]s, approve the draft, and it goes up on the blog (pasted or auto-published, per your Step 3 level). - Review sitting (~15 min). Open WaveGen, review the generated social drafts — tweak a hook, swap a slide image — and schedule the week across platforms.
Total: about 45 minutes a week for a published article plus a full week of platform-native social content. The parts of you that can’t be automated — judgment and taste — are the only parts still in the loop.
Guardrails (read before you automate)
Draft-first, always. The status: "draft" rule above. Agentic publishing without a review gate is how AI slop ships under your name.
The [GAP] rule. Your writing layer flags missing facts instead of inventing them. Answer the gaps; don’t delete them unanswered.
Your voice files are the moat. Ten minutes building voice-guide.md does more for quality than any model upgrade. Revisit it monthly.
Don't publish what you wouldn't say. The interview format keeps the opinions yours. If a draft reads like nobody in particular wrote it, the input was too thin — not the model too dumb.
Other platforms
The loop is platform-agnostic; only Step 3 changes:
- Ghost — has a clean Admin API with token auth; arguably even simpler than WordPress.
- Substack — no public API. The honest version is a semi-automated loop: your writer preps the post, you paste and hit send. Still worth it.
- Medium — the old write API is effectively dead; treat it like Substack.
- LinkedIn articles — use LinkedIn as your publishing destination, then feed the approved article into WaveGen. The social media marketing workflow has its own guide.
Get your blog post and social week by industry
Each guide shows how to create a useful new blog post and a week of social content, with the review gates that industry needs.
Content marketing for law firms
Have an AI assistant interview an attorney, publish the reviewed article on the firm's blog, then turn its URL into five approved social posts.
Content marketing for financial services
Have an AI assistant interview an advisor or expert, publish the compliance-approved article, then turn its URL into five controlled social posts.
Real estate content marketing
Have an AI assistant interview you about the local market, publish the reviewed article, then turn its URL into five buyer- or seller-focused posts.
FAQ
Do I need a WordPress plugin for this?
No. The REST API and application passwords are built into WordPress core (5.6+). If your host blocks the REST API, that's a hosting setting, not a missing plugin.
Does this work on WordPress.com (not self-hosted)?
Yes, but the connection step differs: WordPress.com sites authenticate through the WordPress.com API with an OAuth2 token (from public-api.wordpress.com) instead of an application password — you can exchange your application password for a token via the grant_type=password flow. Everything else in the loop is identical. This guide's commands as written are for self-hosted WordPress.
Is this just publishing AI-generated content?
The draft can be AI-written, human-written, or a mix; the substance still needs to come from your interview answers, notes, and point of view. The guardrails section exists so generic or unsupported material does not go out.
What does the stack cost?
Your preferred writing setup + blog hosting you likely already have + WaveGen. The free plan includes 10 AI-generated posts, one brand kit, one connected account, and publishing or scheduling. Paid plans add more accounts and posts plus watermark-free file downloads.
Can I run this for clients?
Yes — the same loop per client: their voice files, their blog credentials, their WaveGen brand kit. This is how one person runs content for several brands without a team.
Write it once. WaveGen takes it everywhere.
Connect your blog once and every post you publish becomes platform-native social content, in your brand style, waiting for your review.
Free to start · No credit card